How to Install and Maintain a Bidet Seat
Set aside about twenty minutes and one adjustable wrench. Shut off the toilet's water, swap the old seat onto its two bolts, splice the included T-valve into the cold supply, and — for an electric model — reach a grounded outlet within three feet. Upkeep after that is light: leave the self-cleaning nozzle alone and descale only on hard water.
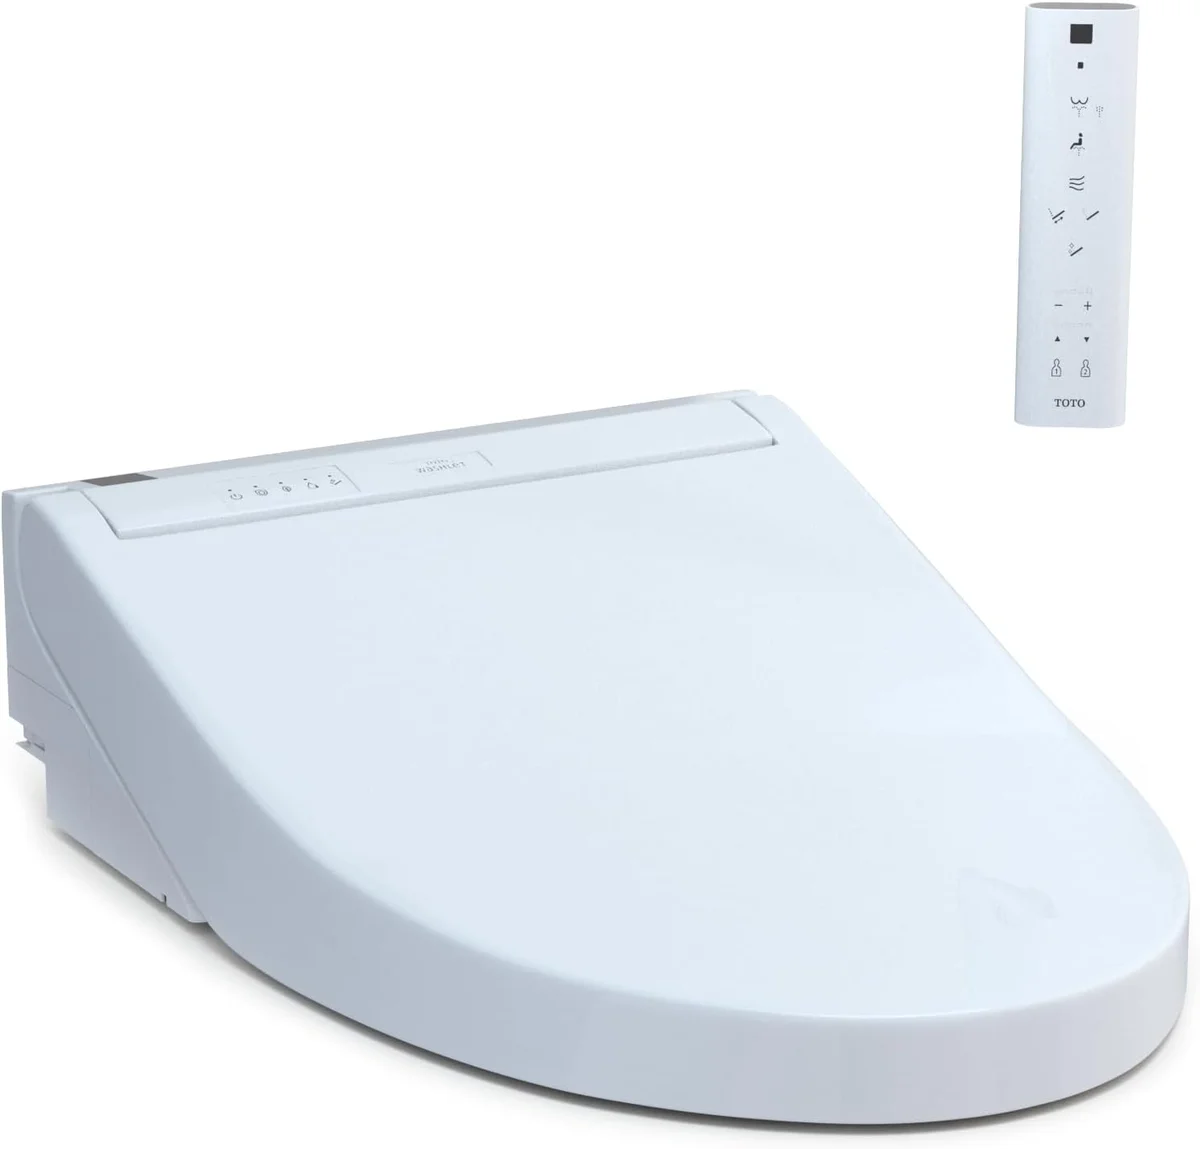
The short version: installing a bidet seat is a twenty-minute swap, not a renovation. The water side is a T-valve that splits the existing supply; the only real hurdle is a grounded outlet for electric models. Maintenance is light — self-cleaning wands handle the nozzle, and a once-a-season wipe plus a descale on hard water is the whole job.
- Install time
- ~20 minutes, DIY
- Only tool
- Adjustable wrench
- Real hurdle
- Grounded outlet (electric)
- Top cause of leaks
- Over-tightened T-valve
Most installs take about twenty minutes
A bidet seat install is a swap, not a renovation. The seat ships with everything except a wrench, and a standard two-bolt toilet is usually done in fifteen to twenty minutes.
The most-searched install question is what a plumber would charge — and for a standard toilet the honest answer is usually nothing, because it is a do-it-yourself job. The sequence is the same on almost every model: shut the water off at the wall, flush to empty the tank, unbolt the old seat, clip the new mounting plate onto the same two holes, slide the seat on until it clicks, then handle the one water connection. The only model-specific variable is power, which is why this guide settles fit and plumbing first and treats the electrical outlet as its own step.
Before any of that, measure the bowl. Round bowls run about 16.5 inches front to back and elongated bowls about 18.5 inches, and most seats are built for elongated only — fitting the wrong shape leaves an overhang or a gap. The buying sequence covers that choice; this guide assumes the seat in the box already matches your toilet.
Connect the water supply with the T-valve
Every bidet seat taps the toilet's existing fill line. The included T-valve splits the cold supply between the tank and the seat — no new plumbing, no soldering.
- Bowl shape Elongated only Measure your bowl — elongated-only seats overhang the other shape.
- Mounting clearance 50 mm behind seat Tank-to-seat gap must clear the control housing.
- Power None — non-electric No outlet needed.
- Water-line access T-valve included; standard 7/8-inch cold toilet supply Shut-off valve and supply line must accept the tee.
Check every axis against your toilet before buying
Close the angle stop under the tank, flush to drain the water, then unthread the 7/8-inch supply line that feeds the tank — the standard US toilet fitting. Thread the T-valve between the shutoff and the tank, run the bidet hose off the T, and reopen the water. Tighten every plastic nut hand-tight plus about a quarter turn with the wrench: over-cranking the thread is the single most common cause of the slow drips owners ask about in the r/bidets "What Causes Leaks?" thread, far more often than any defect in the seat.
Manufacturer fitting diagrams confirm this is a no-tools-beyond-a-wrench job — the TOTO WASHLET installation specifications show the same T-valve splice across the C5, S2, and S5 lines, and most other brands copy the layout. If your shutoff valve is corroded and will not turn, that is a pre-existing plumbing fault to fix before the seat goes on, not part of the bidet install itself.
Every electric seat needs an outlet
This is the step that stops people. An electric bidet seat needs a grounded GFCI outlet within about three feet of the bowl, and many older bathrooms have none.
"Advice needed. Getting outlets put in and am now looking for a full bidet seat. Sooo many options, so confused!" — a recurring r/bidets pattern in our synthesis of owner threads, where the electrical work, not the seat, is the real project.
You have two honest options. Either there is already a grounded outlet beside the toilet and the seat's short cord reaches it, or an electrician adds one — typically a half-day job that costs more than many mid-tier seats. There is no safe workaround: extension cords near a water source are exactly what the GFCI requirement exists to prevent, and that is non-negotiable on an electric model.
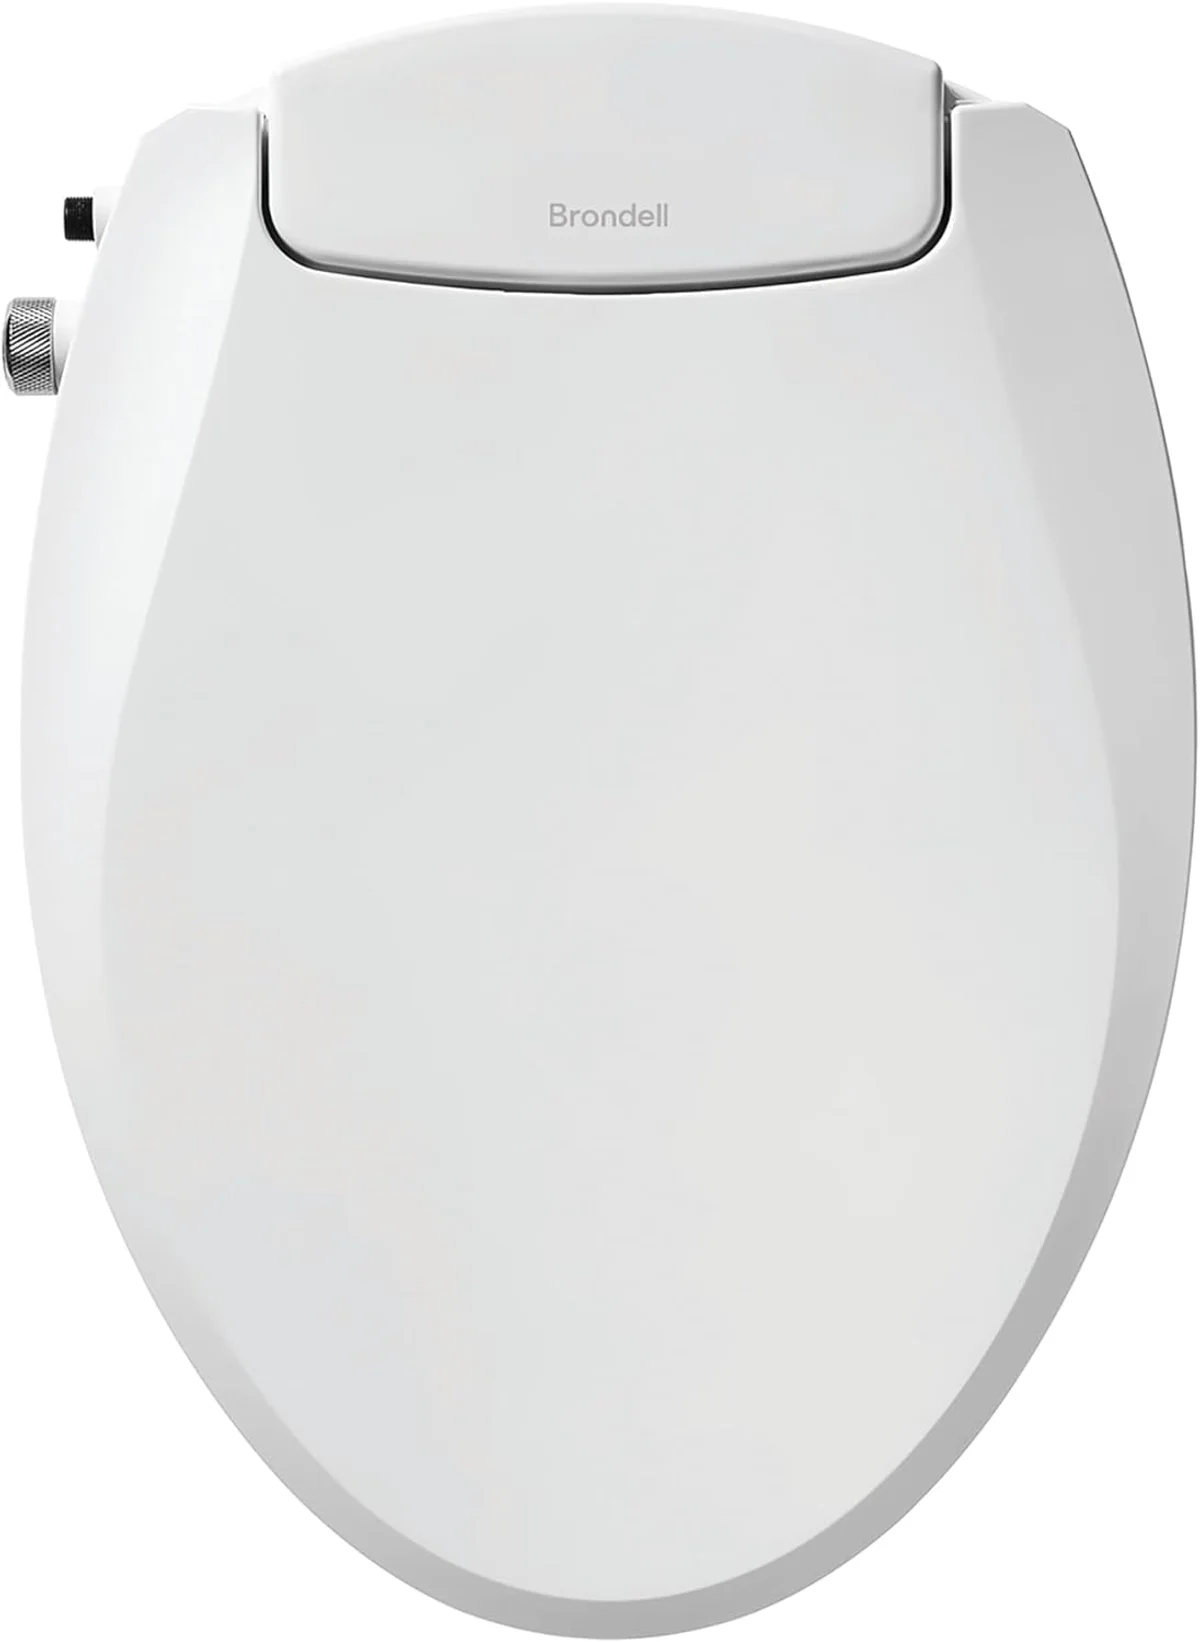
If adding an outlet is not worth it, the install gets simpler, not harder. A good non-electric bidet seat washes with cold tap water, needs zero power, and skips this entire step — which is why the no-outlet bathroom so often ends up with a Brondell or TUSHY seat rather than a washlet.
Watch the bowl-shape and clearance traps
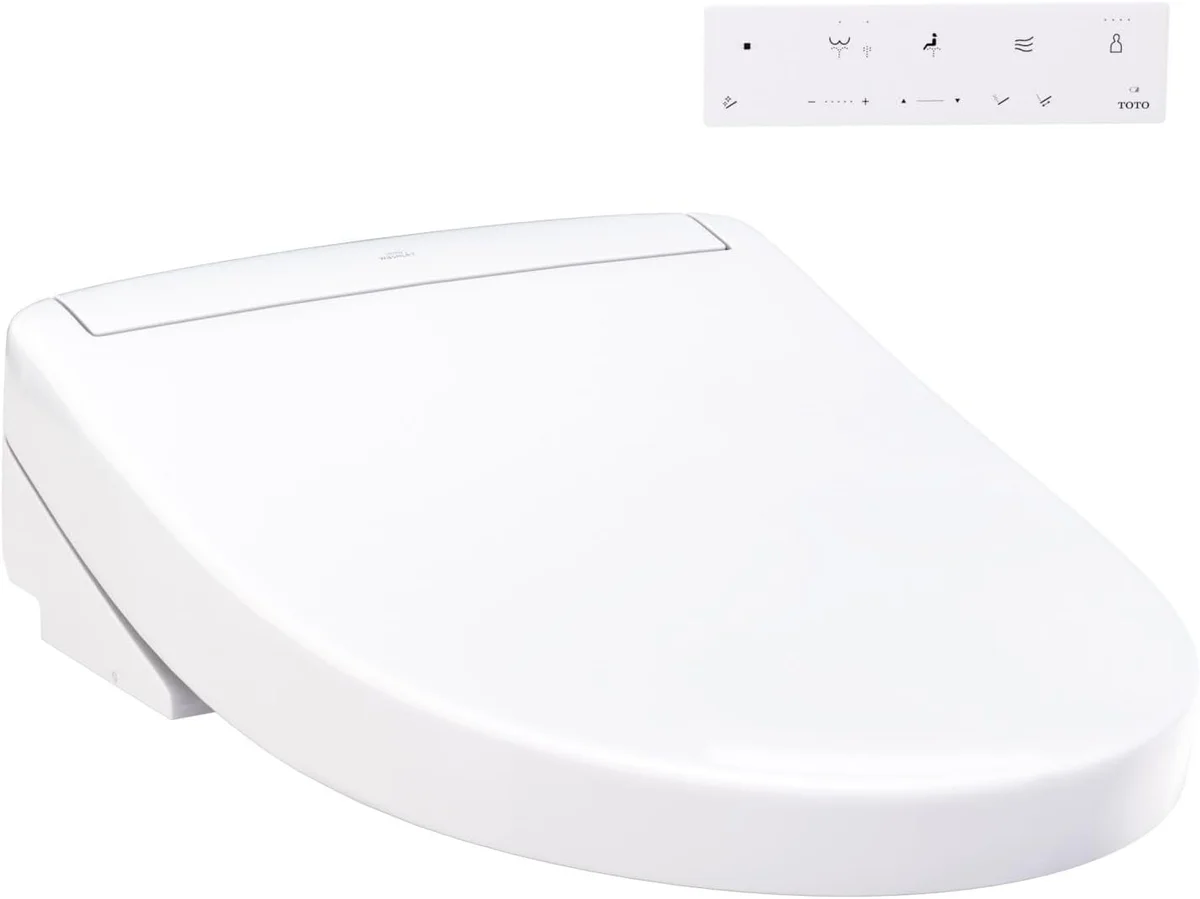
Two measurements decide whether the seat physically fits: bowl length and the clearance behind the seat for the control housing.
Skirted and French-curve toilets are the usual fit traps, because their hidden mounting hardware can block the top-mount bracket that bidet seats ship with. Coway's walkthrough on checking bidet seat fit is a good pre-purchase test: measure from the seat-bolt holes to the tank or wall, and confirm at least two inches of flat surface for the hinge plate. An elongated-only seat on a round bowl overhangs by an inch or more — fittable, but it looks wrong and the lid may not close square.
Removing the old seat is the step that surprises people, not the new one going on. Corroded or seized bolts are common — the r/bidets "Tips for unscrewing this toilet seat?" thread is full of them — so soak the nuts with penetrating oil, work them by hand, and keep a small hacksaw as the last resort for plastic bolts that simply will not turn. Once the old seat is off, the new plate drops onto the same holes in under a minute.
Dial in the wash on first use
First wash underwhelms more owners than any other moment. The fix is almost always nozzle aim and pressure — raised two or three steps above the timid factory default — not a faulty seat.
One new Alpha JX2 owner posted "tested the effectiveness with some TP. There were still 'remnants'! What am I doing wrong?" — the textbook first-use report. The answer is rarely the hardware: scoot back so you sit over the nozzle's arc, raise the pressure two or three steps from the timid factory default, and turn on the oscillate mode so the single nozzle sweeps rather than holds one spot. Most "weak wash" complaints disappear within a day of adjusting seat position and pressure.
Then set the comfort dials and leave them. Water temperature, seat-heat level, and dryer warmth each have their own setting, and on instantaneous models the water stays warm as long as you run it, while reservoir-tank models give you a fixed warm window before it cools. Setting these once on day one is what turns the seat from a gadget into a routine.
Keep it clean and leak-free
Maintenance is mostly leaving the seat alone. Electric models self-clean the wand before and after each wash; non-electric models need only an occasional wipe.
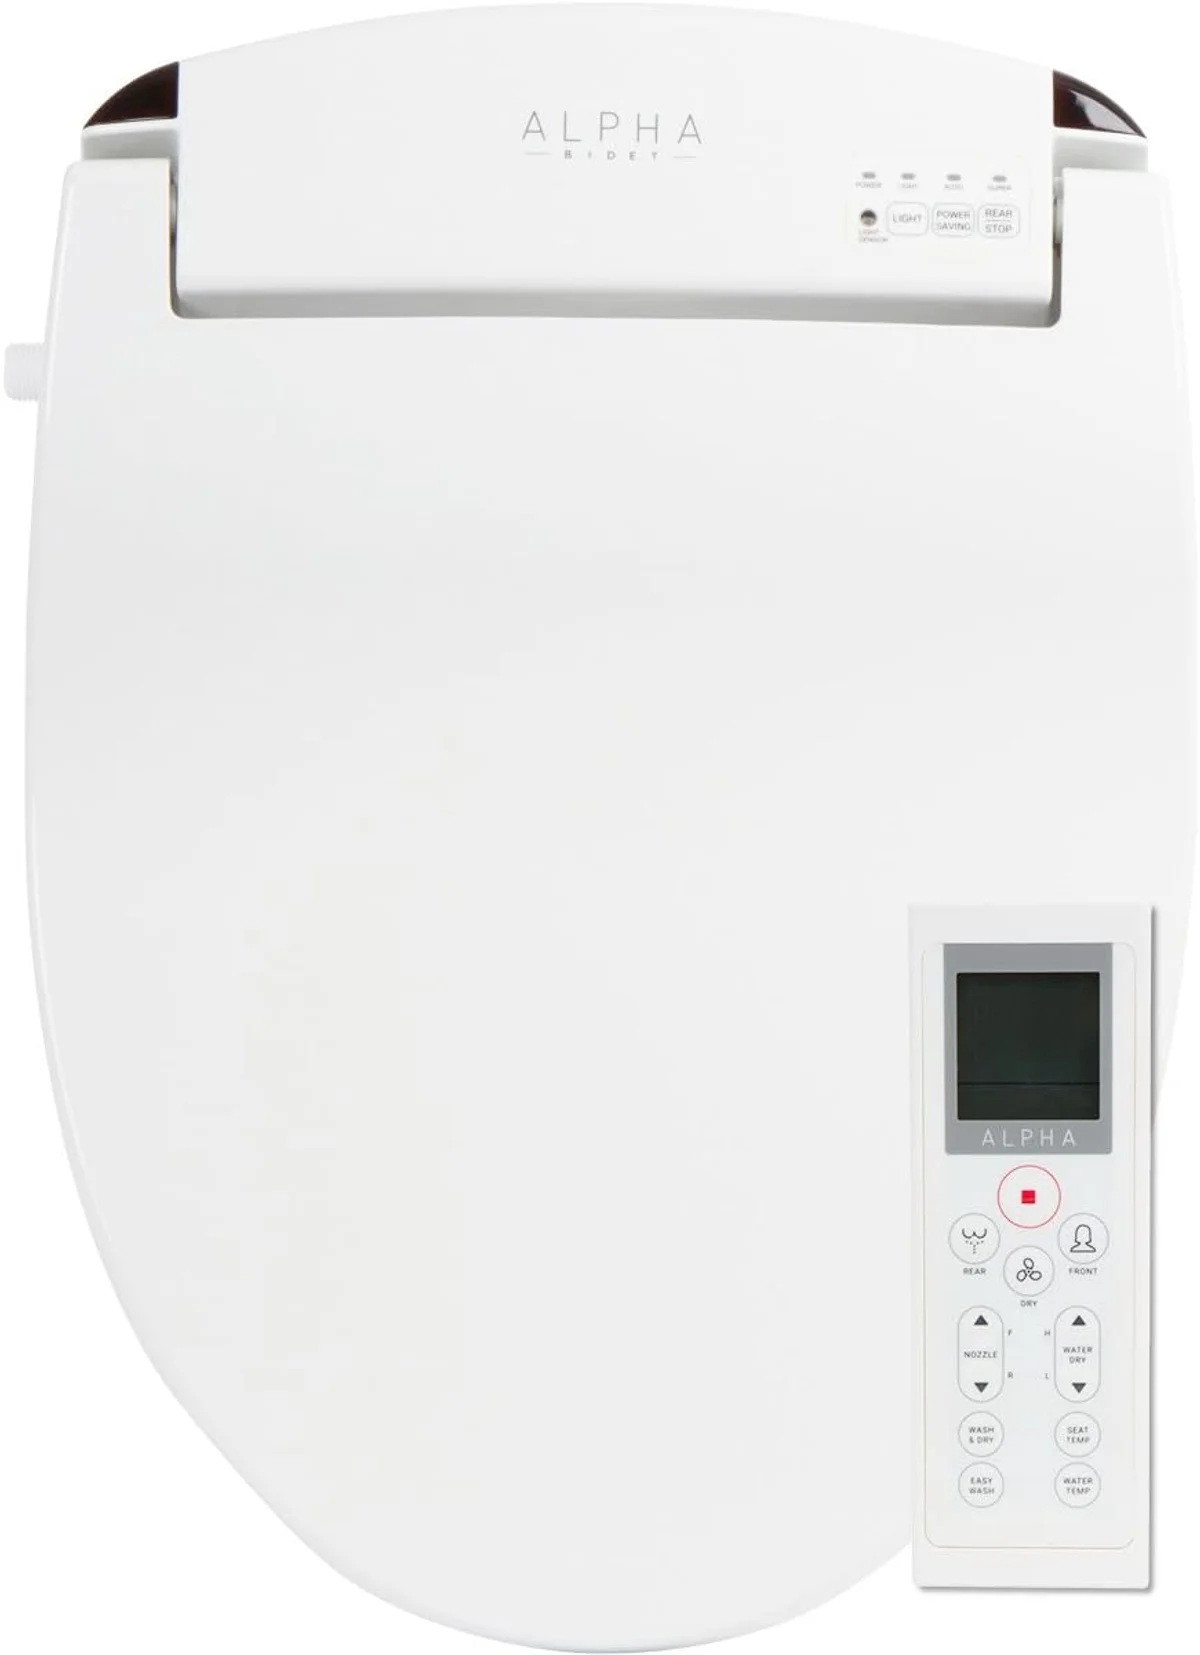
Electric washlets handle the nozzle themselves: features such as TOTO's PREMIST and EWATER+ rinse the wand before and after each use and retract it behind a shield, so the only manual step is wiping the exposed tip every week or two. The one variable is water — hard water leaves limescale on the heater and nozzle, so descale per the manual if your supply is hard, and replace any inline filter on the schedule the maker prints.
A non-electric seat is even simpler. The Brondell bidet seats use a dual nozzle, a manual dial, and brass internal valves — few parts, little to fail, and nothing to descale beyond a wipe of the nozzle. That mechanical simplicity is the reliability floor of the category, and it is why a non-electric seat is the low-maintenance choice when warm water is not a priority.
When a plumber is worth the call
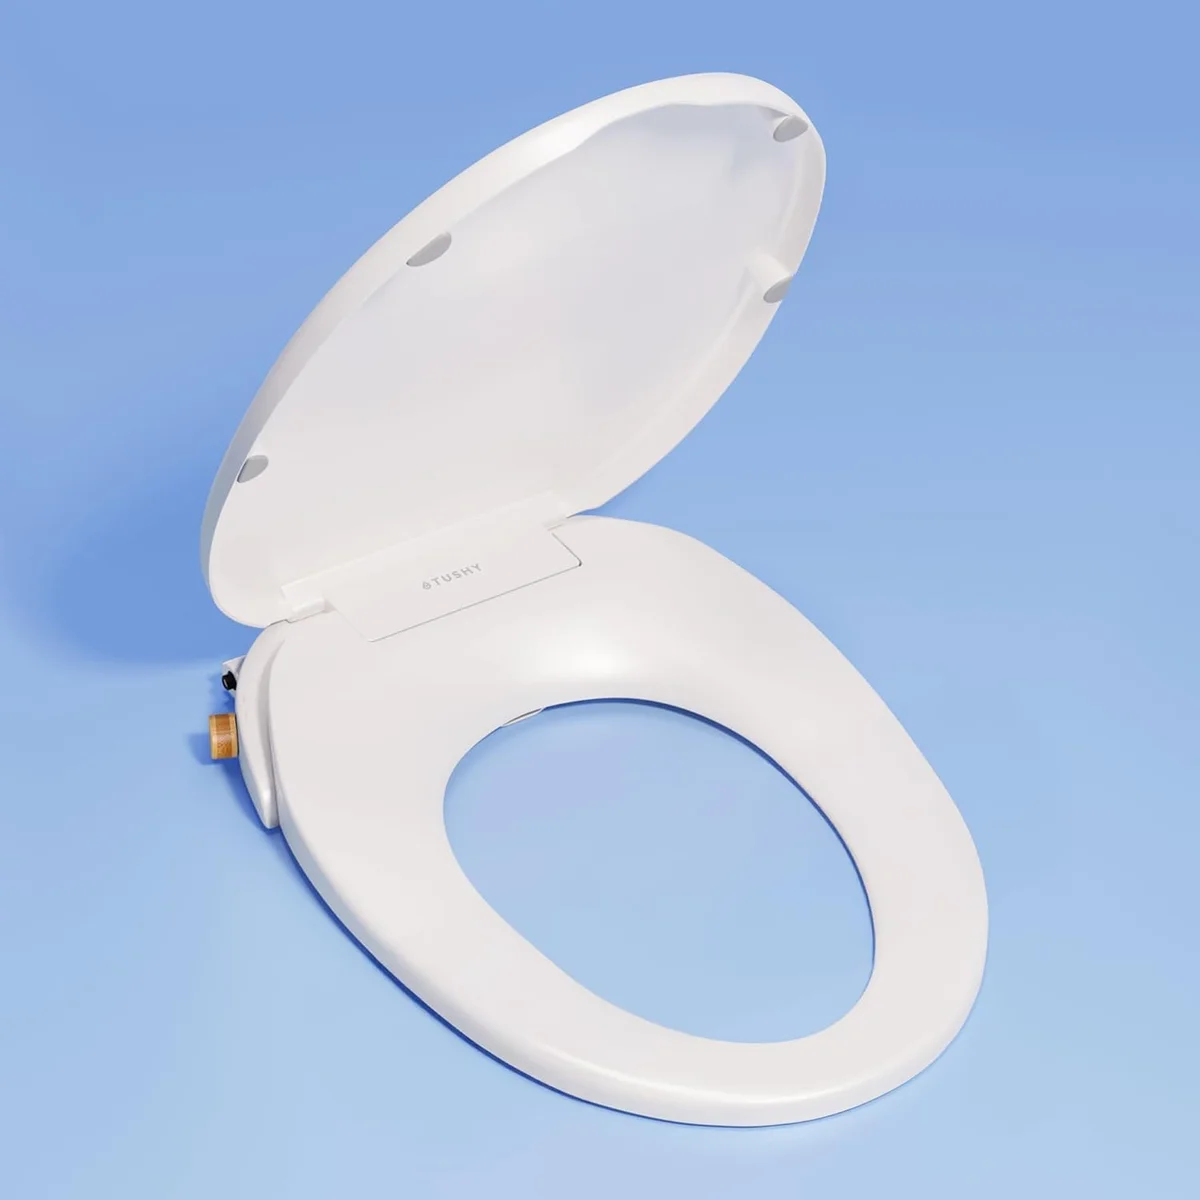
Most installs are DIY. A plumber earns the fee for three things only: a missing outlet, a backflow rule, or a seized shutoff valve.
Trade guidance such as PMmag's piece on professional bidet seat installation frames the same split: the seat itself is a quick fixture swap, but the surrounding bathroom can add real work. The most common paid job is the electrician adding a GFCI outlet for an electric model, not a plumber at all. A genuine plumbing call comes up where local rules require backflow prevention — some jurisdictions ask for an RPZ valve on a bidet connection — which we cover in our research on bidet seat regulations and requirements.
For the overwhelming majority of two-bolt toilets, though, the install is a wrench, a T-valve, and twenty minutes. Once it is in and dialed in, point the upkeep at the two things that actually matter — a gentle T-valve and a descale on hard water — and the seat will outlast most of the toilet it sits on.
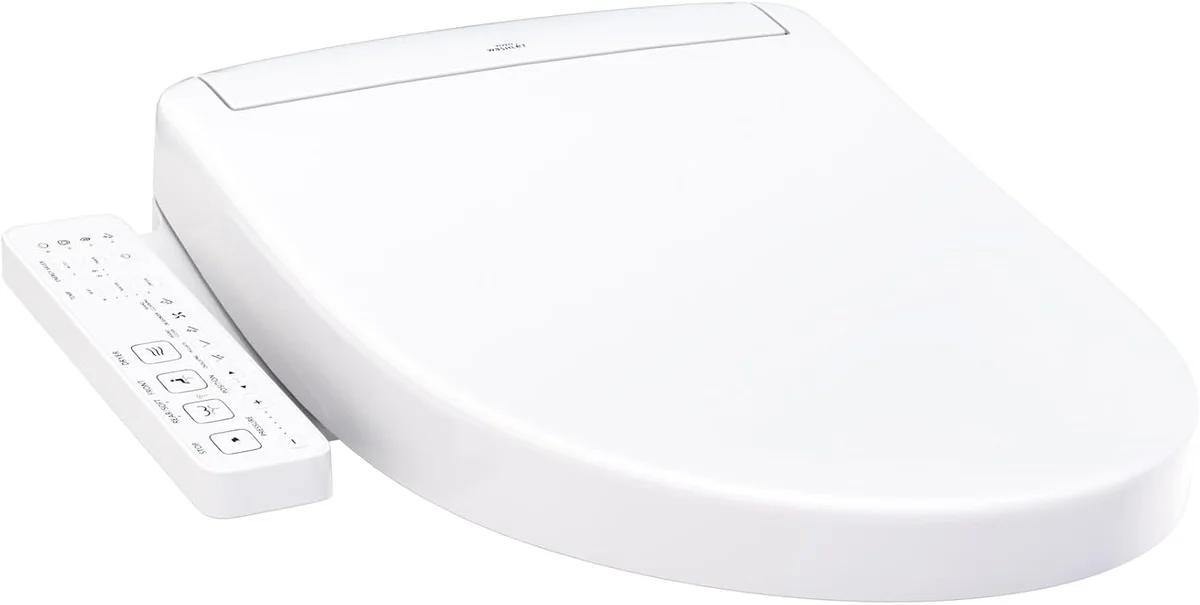
TOTO WASHLET S2
It installs on the standard two-bolt mount, taps the supply with the same T-valve shown above, and self-cleans its wand — the combination that keeps setup and upkeep painless. Read why it tops our list before you buy.
With the bathroom prepped, turn the plan into a shortlist. Our best bidet seats roundup ranks the models that install cleanly and last, mapping the warm-water, fit, and control decisions you make before any of them reaches your toilet.
Install and upkeep questions
How long does it take to install a bidet seat?
About fifteen to twenty minutes for a standard two-bolt toilet. Only the optional electrical outlet for electric models takes longer.
Do you need a plumber to install a bidet seat?
Usually not. A bidet seat taps the existing toilet supply through an included T-valve and mounts on the same two bolts as the old seat, so most owners fit one with a single adjustable wrench in under twenty minutes. A plumber is only worth calling for three specific things: adding a grounded outlet for an electric model where none is within three feet, meeting a local backflow-prevention rule that demands an RPZ valve, or freeing a corroded shutoff valve that will not turn. None of those is the seat itself — they are pre-existing bathroom problems the seat happens to reveal.
Why does a new bidet seat leak?
Almost always an over-tightened or under-seated T-valve connection rather than a faulty seat. The plastic nuts seal hand-tight plus a quarter turn; cranking them harder cracks the thread or rolls the washer, which is the recurring cause in the r/bidets "What Causes Leaks?" reports. Re-seat the washer, tighten gently, and wipe the joint dry to spot the source.
How do you clean a bidet seat nozzle?
Electric models self-clean the wand before and after each wash; you only wipe the exposed tip occasionally and descale if your water is hard. Non-electric seats just need a soft cloth on the dual nozzle.
Sources
- TOTO USA — WASHLET installation and specifications. Accessed 2026-05-27.
- PM Magazine — How to sell and install bidet seats. Accessed 2026-05-27.
- Coway — Will a bidet fit your toilet? How to check. Accessed 2026-05-27.
- r/bidets community install and leak reports. Accessed 2026-05-27.